How to Set Up a Cold Email Campaign From List to Launch
Campaign setup is where targeting, infrastructure and copy become an executable workflow. The best launch checklist prevents obvious mistakes before volume magnifies them.
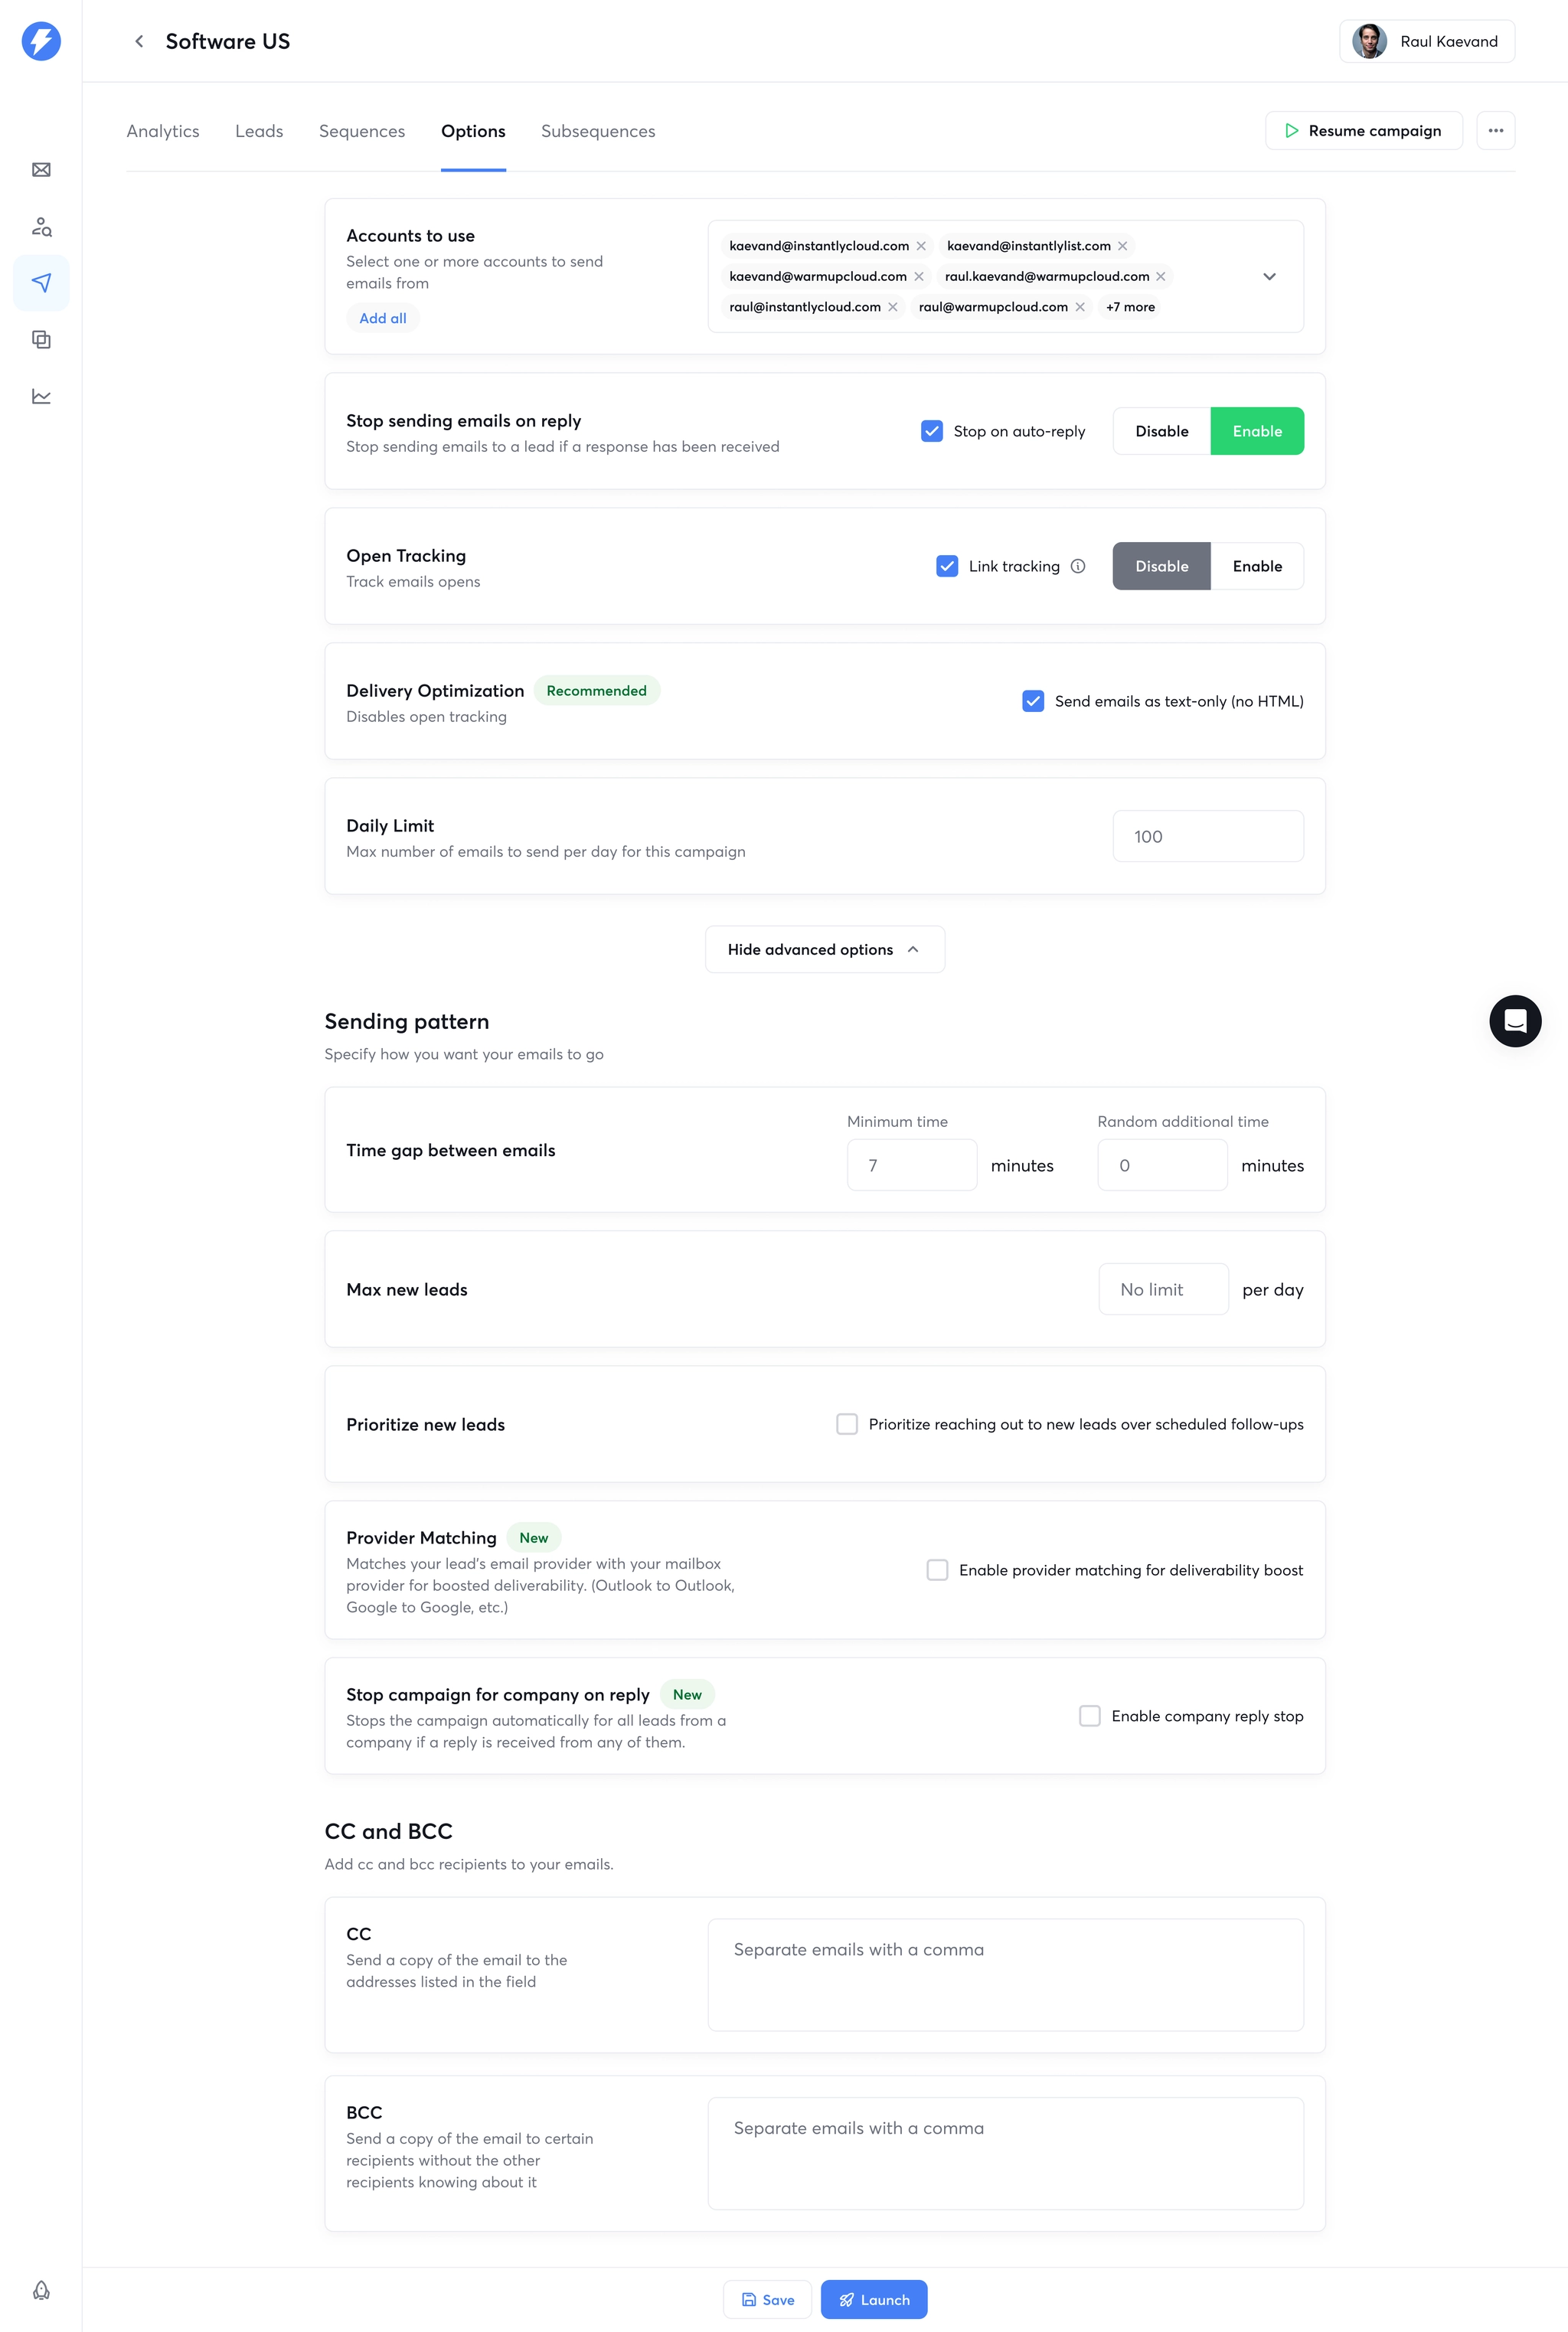
1. Verify the sending setup
Confirm the correct domain, mailbox, authentication, signature, reply path, tracking choices and suppression rules.
2. Upload a segmented list
Check required fields, remove duplicates, keep source/provenance fields where useful, and avoid mixing audiences that need different copy.
3. Build the sequence
Write the first email and follow-ups, set delays, define sending windows, and confirm personalization variables have fallbacks.
4. QA with real-looking test records
Send tests, inspect formatting on mobile and desktop, verify links, check personalization and make sure the from-name matches the intended sender.
5. Start small and monitor
Launch conservatively, watch bounces and replies, and pause if the setup behaves differently from the test.
Using Instantly
Instantly is designed for this sequence-building workflow and currently combines connected accounts, campaigns, AI assistance and reply management. Use the affiliate CTA below only if that workflow matches your needs.
Official Instantly video
This first-party video adds a practical demonstration or deeper explanation to the workflow above. It is supporting instruction, not the reason this page exists.
Instantly.ai Demo Walkthrough (by Co-Founder) - Features and Cold Email Campaign Setup — official Instantly YouTube channel.
Want to test Instantly in your own workflow?
Use the platform with your own list, sending setup and success criteria. Pricing and feature availability can change, so verify the current plan before purchase.
Visit Instantly via our affiliate link